
JRE vs. JDK
When downloading Java, many people have trouble knowing if they should download the JRE (Java Runtime Environment) or the JDK (Java Development Kit). The JRE is used when you simply want to run a program that uses Java. The JDK is used for any java development purposes. In this series, we will download the JDK (It also includes the JRE).
Installing the JDK
Navigate to the JDK Download Page to start downloading Java! You will be presented with a screen that looks like this:

Select the installer or compressed file for your Operating System. In my case, this is the Windows x64 executable because I am running Windows 10 with a 64-bit architecture. If you do not know what Operating System you are running, check out this article by lumen for Windows, here for Macintosh. If you are running Linux, check out this guide to installing JDK on Linux.
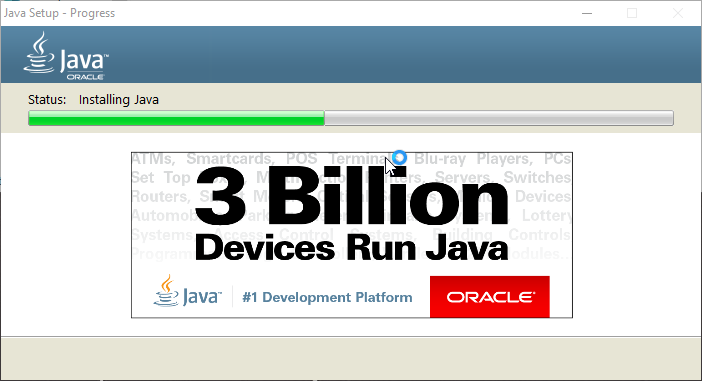
Run the installer once it has downloaded and follow the installation wizard through.

Verify the installation
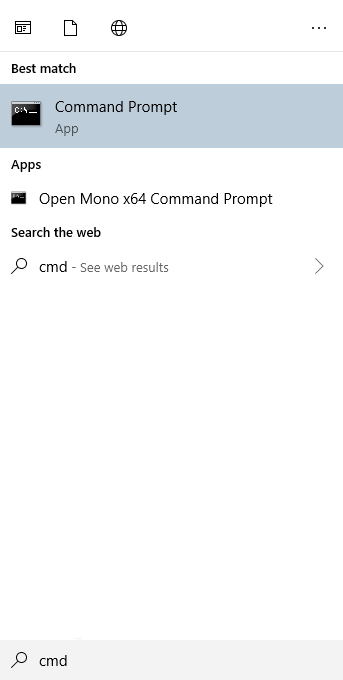
After completing the installation, we need to verify that our system recognizes java as a command. Open the terminal/command prompt:
Once the command prompt is open, simply type ‘java -version’ like the following:

The line ‘java version “1.8.0_221″‘ will look different depending on what the current version of Java is.
Troubleshooting
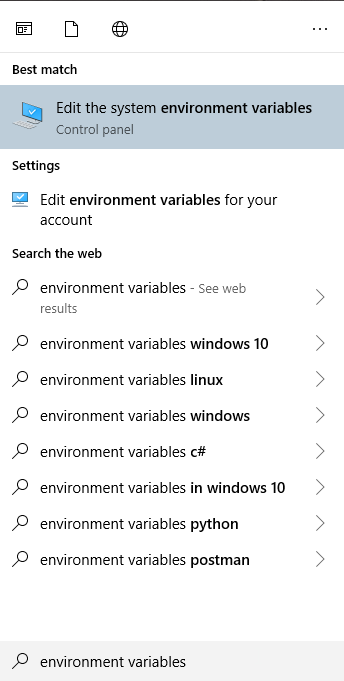
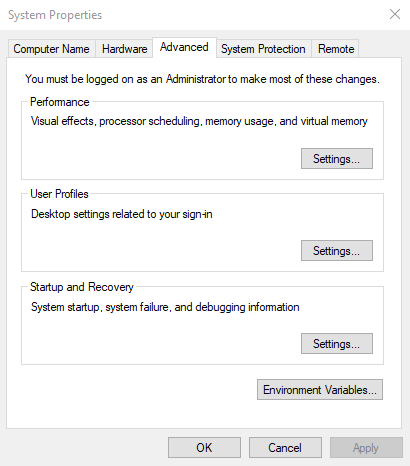
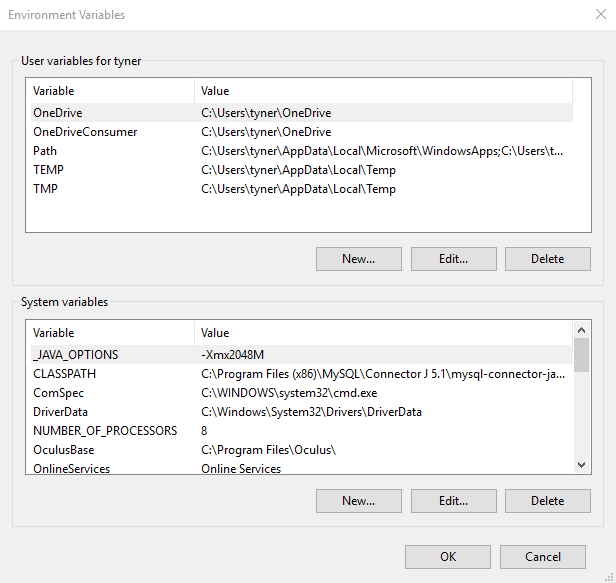
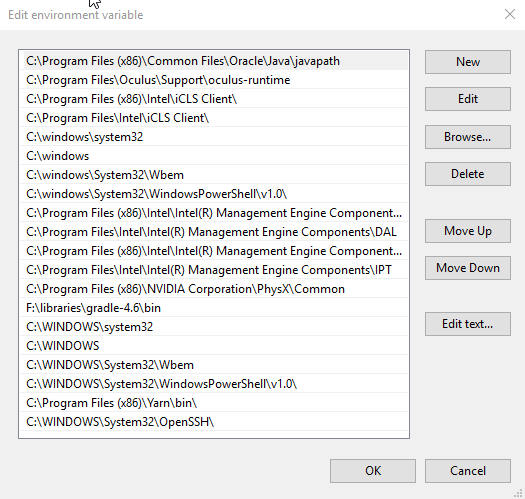
If the system does not recognize java as a command, it means that java has not been added as an environment variable. Here is how to do that on Windows 10:
Finished
And there you have it, Java is installed and ready to be used! The next step is installing an IDE to use to make development easy! Please let me know in the comments if you run into any problems or think I can improve this guide.
