
Download the Installer
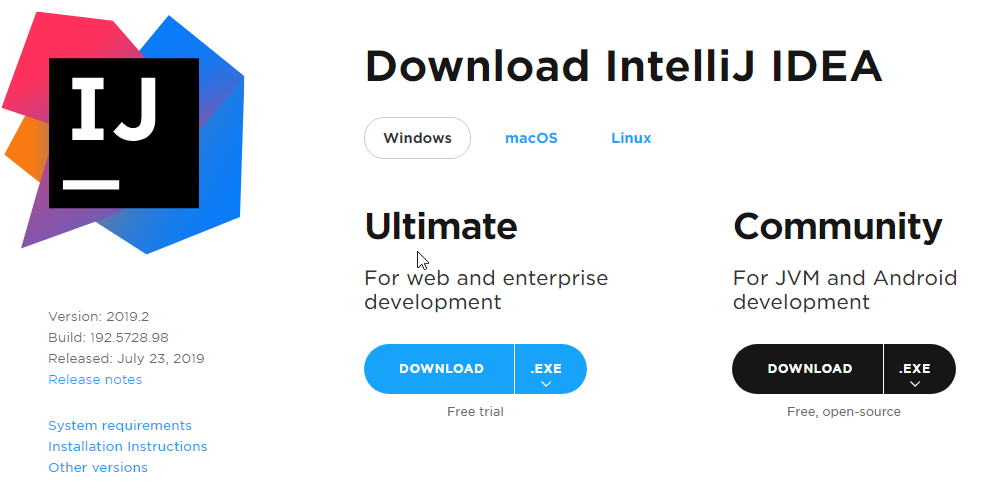
Visit the IntelliJ Download Page to begin the download process. Under the Community section, click Download.
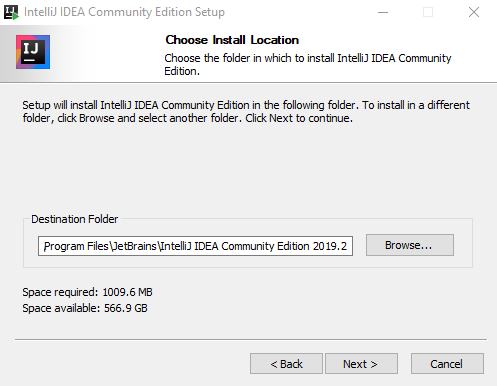
Run the executable file once it has downloaded to begin the installation wizard.
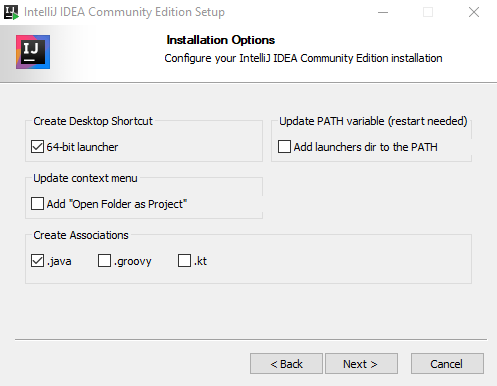
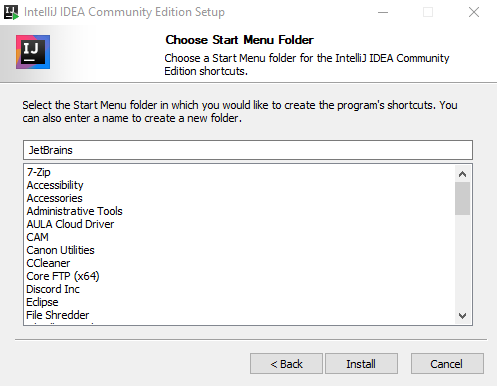
Installation

Set-Up
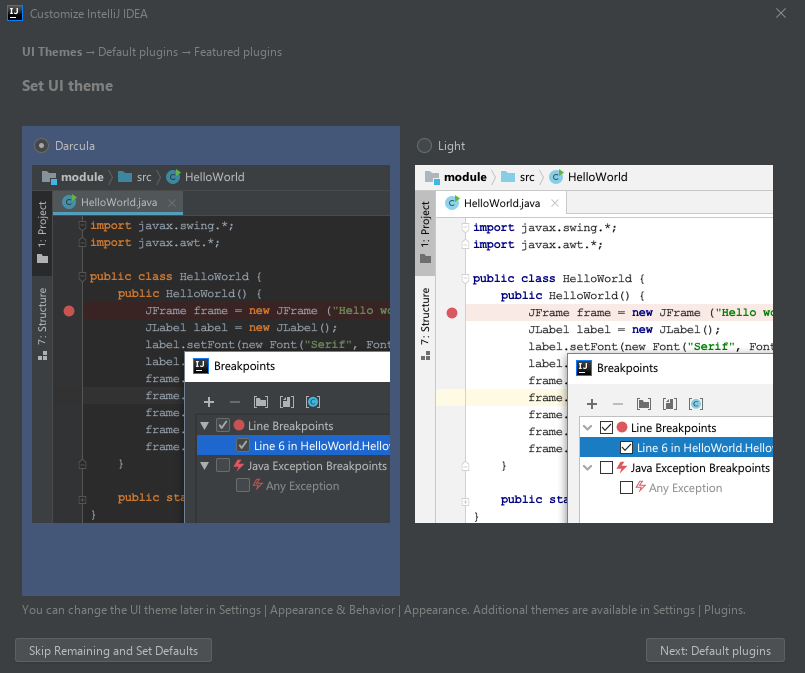
When IntelliJ starts for the first time, you will be prompted to select the style theme and any plugins that you wish to install.
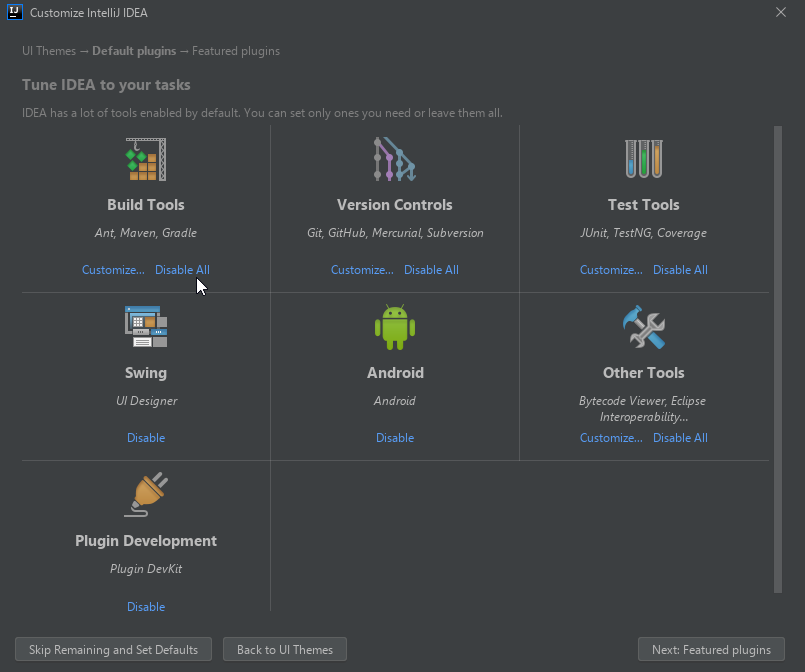
Plugins
Build Tools
I suggest installing all three build tools unless you know which build tool you will be using. Maven and Gradle compete for the top spot among developers while Ant has fallen behind and many consider it to be old technology.
Version Controls
You may choose any version control software that you are comfortable with here. If you have never used version control software, I recommend using Git as it is an industry standard and it is what I will be using throughout this series.
Test Tools
Install TestNG and Coverage. TestNG can test anything that JUnit can and more. You will need coverage to verify that you are testing everything that is necessary.
Other Plugins
I recommend leaving everything else at its default value.
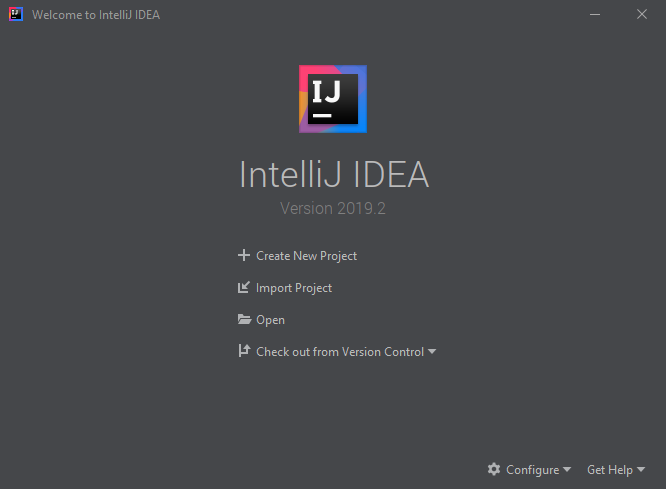
In the next lesson, we will build our very first Java application!
